PART 11: Return to Death Castle!
Yes, after too many months of neglect, and admittedly, modelers block, two nights ago I returned to Death Castle. Right before Thanksgiving, I returned to 40k in a big way, and my Orks required, and still do, a lot of attention. My schedule is tough and things that require a lot of attention taxes heavily on what little free time I have to devote to any of my modeling projects. However, with spring fast approaching I forced myself to let the boyz wait for a while and complete this project. I may have missed my deadline, but Id rather do this right and be ultimately satisfied than just hack my way through to a finish line.
When I last worked on this project, I was hung up on the way the castle walls have settled in such a way that mounting it to the base will become a major undertaking. I have figured out a way around that though, so when the time comes to do that part of the project, I shouldnt have too many worries.
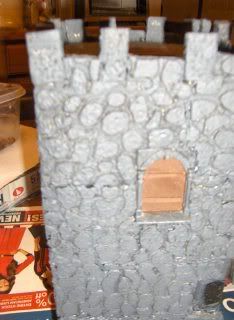
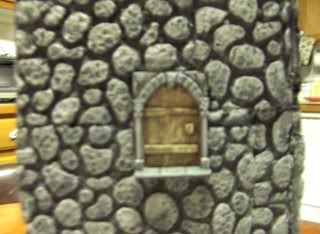
I started right where I left off, continuing to concentrate on the tower. Upon returning to it, I decided that I hated the coloring on the doors and took a new approach. I based coated them brown and worked up a few highlights in various tan colors using mostly a dry brushing technique. Finally satisfied with that, I approached the stones. As you can see in the first photo, another layer of base coat was required.
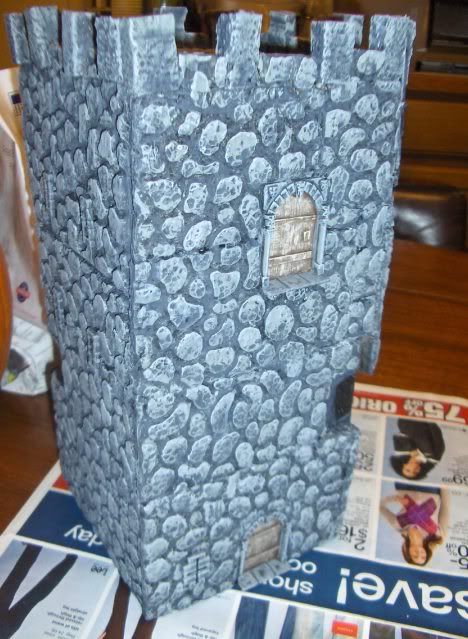
The paints I used on the stones was Americana Graphite by DecoArt (base coat), AppleBarrel Colors Pewter Grey, and for the high light color I used Citadel Fortress Grey. Some stones are painted lighter than other others, and some darker, for a more realistic look. Im going to go back and apply washes to a few odd stones, such as brown or terra cotta, to get an even more varied look.
I still need to highlight the stones on the roof and add the door handles before I tackle the balcony, which is still only halfway done, before the tower is done. I intend to get a lot more done on this soon.


