This tutorial will hopefully give you a better idea about NMM theory and how to paint it.
1. What is NMM?
Unless you've been living in a troll cave over the last few years you will most likely have heard about the miniature painting technique called NMM (well technically, if the troll cave had internet access - as I hear most state-of-the-art troll caves have - you'd have heard of it anyway!). Though the pros and cons of NMM have been the subject of endless discussions in the painting community already, I think a more detailed description of the technique as such would be suiting in this context.
NMM stands for non-metallic metal, and traces it's origins to classical 2d painting. Even though it's rather new in the mini painting context, the technique has been around for ages, long before metallic paints or minis for that sake existed. It was mastered already by the renaissance and baroque painters several hundred years ago. I'm going to be honest with you and say I don't have a clue as to exactly when and why someone got the bright idea to paint miniatures like this; probably it was to save money by not having to buy all those fancy metallic paints

. Enough of history lessons, simply put NMM is about painting the metal areas of your miniatures using paints without metallic pigments, i.e. greys and white for silver/steel, browns and yellows for gold a.s.o. The theory is simple enough, but mastering the technique requires quite a bit of practise and a very good understanding of reflections and the rules of light physics. I might as well say it right away: If you're searching for a quick way to paint you army or wonder if you can combine dry brushing with NMM you're looking at the wrong place. You should only ever consider trying this technique if you're serious about it and prepared to spend quite a bit of time with each model (hence it's rarity amongst actual non-display armies). To get the best possible results with NMM, you should know how to blend the colors decently. There are many different ways of doing this, none of which, unfortunately, will be covered in this tutorial.
2. The non-debatable rules of metals (or why some NMM just doesn't look right).
The most common mistake/inability by people trying out NMM is absence of knowledge about reflections. Although being a rather complex subject, there are a number of set rules that will ease the process. NMM is really all about breaking your model down into basic geometrical shapes, and then using those as a guide for how to paint your miniature. Getting entirely realistic reflections is near impossible, so you'll have to generalise and simplify. To help you out I've done a few 3d renders showing how differently shaped objects reflect light.

First, a sphere. Note how the transition between the area reflecting light and the shadowed area follows the shape of the sphere. If you're simulating sunlight you will have a round highlight in pure white in the direction of the sun. The very darkest area is not necessarily found at the very bottom of the sphere, the ground will often reflect some light thus making the bottom slightly brighter. Some objects that can be compared to a sphere are breastplates or the spearmen shields.
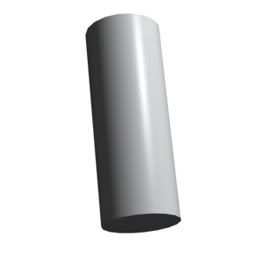
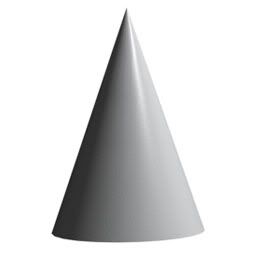
A cylinder and a cone. The reflections and shadows will almost always follow the direction of the object; i.e. if the cylinder is standing you'll get perpendicular reflections, and vice versa. The reflection of the light source will be "dragged out" along the object (meaning that you will never get a circular reflection). Leg and arm armour is often cylindrical, helmets can be conical (often something in between a cone and a hemi-sphere).
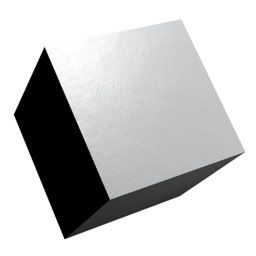
A box. Wherever there's a sharp edge there tends to be a contrast between light and shadow as well. To increase the effect you can build up with lighter colours towards the edge on the bright side, and darker colours on the dark side, so that you get your very brightest highlight on the reflecting side of the edge meeting the darkest shadow on the other. Please note that even though this technique is commonly used in NMM it lacks a definite equivalence in real life. Highlights do not generally strive toward edges, but can be painted like that and still add a very metallic effect. Pretty much all objects with edges can be painted like boxes, including for example swords.
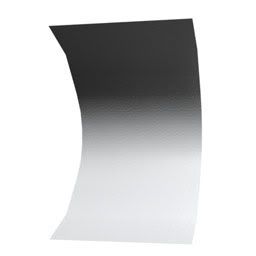
A concave shape. If you imagine the model being lit from above (as you normally do) concave shapes will be brightest at the bottom and darkest at the top. If the object is smooth, the transitions should be too. Which area of your concave shape that'll be brightest depends on where the imagined light source is located more exactly, but usually just building up with brighter colors towards the bottom will be sufficient. Concave shapes are found for example on those knee and elbow protection thingys that full plate armours usually have. Maybe you've seen people paint scratches in their NMM? Well these are also basically long and thin concave shapes, usually done by first painting a very dark line and then just beneath it a line in pure white.
3. Painting the miniature.
Ok, now the fun begins: First go get a nice mini with lots of metal parts. For the Empire, the greatswords, knights and pistoliers are probably the best alternatives. I chose the greatswords; in this tutorial I'm painting the greatsword champion model which I think is a great sculpt. Give the model a black undercoat.
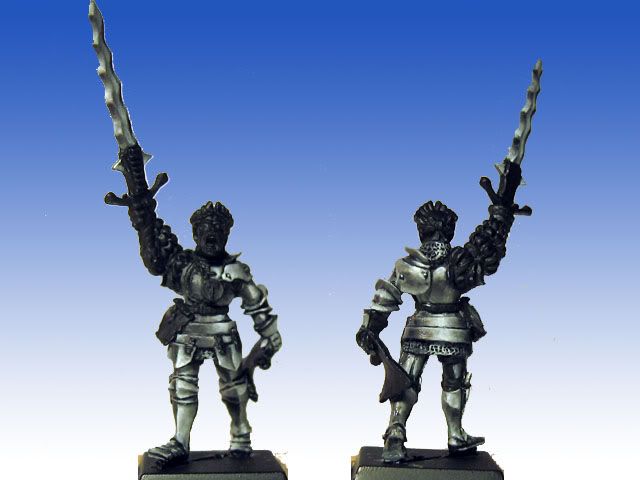
Step 1
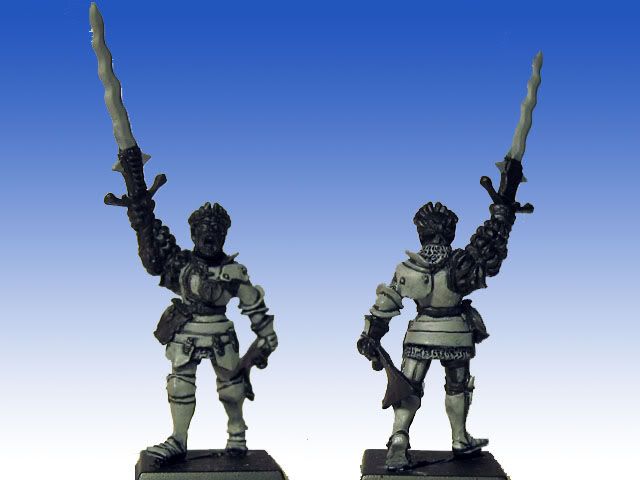
Paint all of the (steel) armour with Codex grey or Vallejo's Cold grey if you prefer. Make sure you leave black lines between the different parts and details of the armour.
Step 2
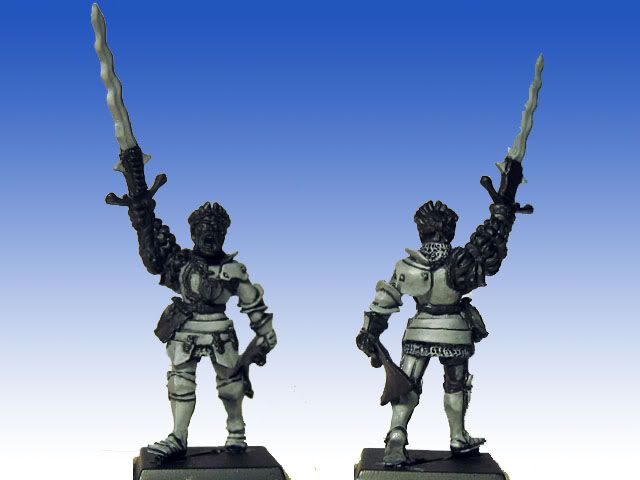
Add some white to the grey to get a brighter tone. Paint the areas that should reflect light, try to get as smooth blends as possible. This step is very important, since it decides the basic positions of the reflections. You need to have an idea about where the light comes from, It's most often best to imagine a lightsource at about 70 degrees and slightly to one side. In my case I imagined a lightsource slightly to the right of the model on the front side as well as on the backside. Obviously, this is not entirely realistic since you've normally only got one sun, but the back would look very dull if there was no light to be reflected.
Here is a picture with comments indicating which areas can be likened to which primitive forms.
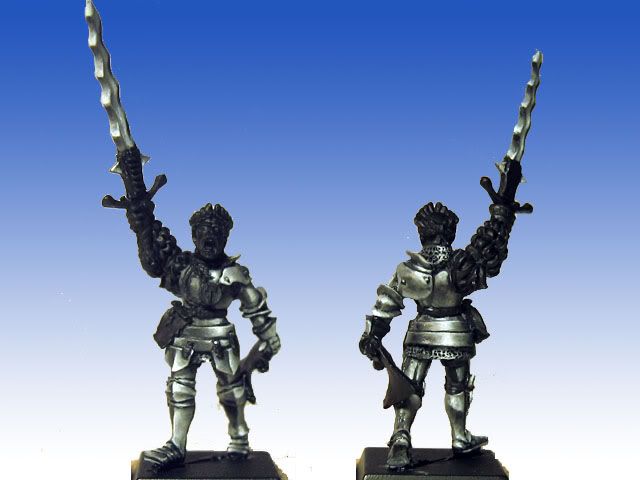
Step 3
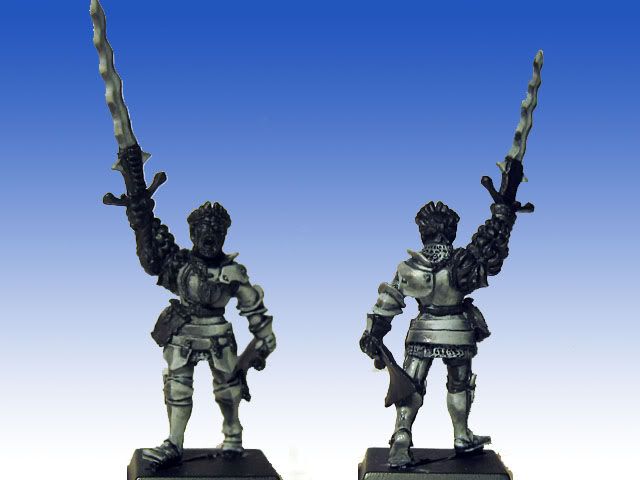
Now add some black to the grey so you get a darker shade. Try to figure out which areas the light wouldn't catch and paint them (again: smoothly).
Step 4
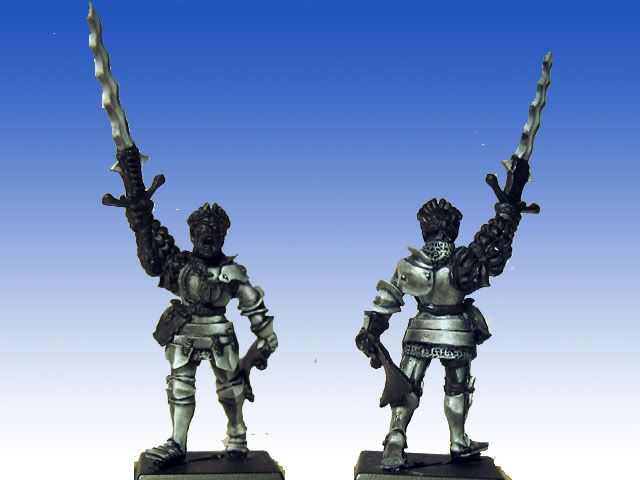
Build up further highlights with a mix slightly brighter than the one used in step 2.
Step 5
Much like the previous step, but this time going down the brightness scale again, define the very deepest shadows with a mix containing more black (the amount depends on how dark/bright you want the metal to look, if you're painting very dark metal this step could use almost pure black).
Step 6
Add a final highlight of pure white. On some areas it can look good if you leave relatively crisp edges, i.e. you can skip the blending to a certain extent in this step (look at the highlight on the brestplate to see what I mean).
Step 7
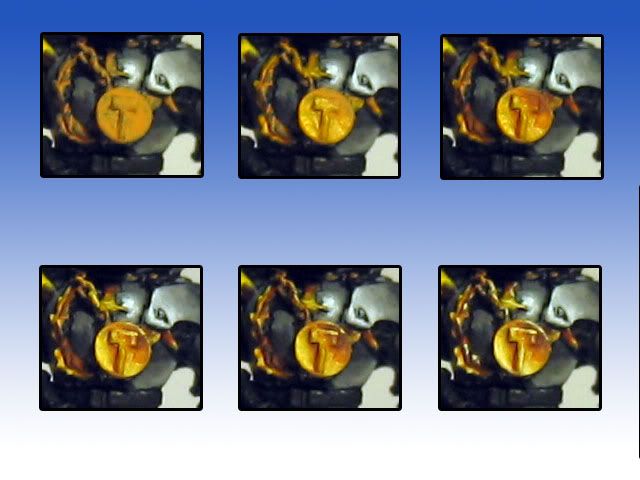
Paint any gold parts in much the same way. I used vomit brown highlighted with golden yellow followed by mixes of golden yellow and white, and shaded with bestial brown followed by scorched brown. When painting gold NMM you should never use a highlight of pure white, since gold can't reflect pure white in the same way as silver and steel.
Step 8
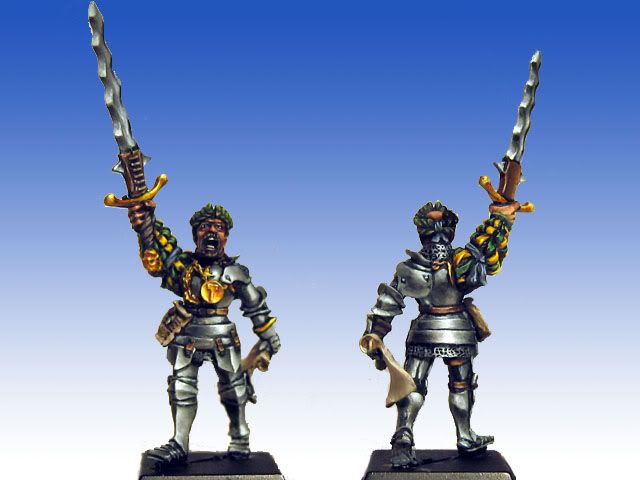
Finish the rest of the mini

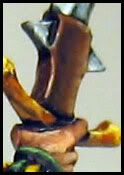
If you're feeling particularly bold you can even try painting non-metal parts with NMM techniques, such as I did with the leather on this model.
I hope you enjoyed the tutorial or even found it useful. Whether you actually try the technique or not, you might have got a better understanding of it so that you can point out to people that they're doing it the wrong way
As for me, I'm off to buy some metallic paints..


